The roof is going up! A little later than planned, but weather and finances, health and mood all have to come together in a perfect storm. It’s OK though, because I spent the time re-thinking (for approximately the thousandth time) how I wanted the roof to come together. And of course I changed my mind…again! Actually, I didn’t so much change my mind, as recall a method of insulating my flat roof that I’d run across more than a year ago. So glad I came found it again! This is the illustration from the website Building Science Information:

Breaking the thermal bridge
Basically, you build a thermal break into the roof with an extra layer of exterior grade plywood over a layer of rigid foam insulation. You can’t use OSB, which can’t handle moisture or breathe ~ it has to be plywood. One of the local lumber yards sells what they call “utility” grade 3/8” sheets for only $10, which I feel is fine for this purpose. The more (thicker) insulation you use, the better ~ I used 1 1/2 inch expanded foam. I really wanted to use extruded foam, but it’s out of my financial reach. This extra layer goes up before the trusses, and creates a thermal break, making the insulation laid between the trusses more effective. It adds to the total R-Value, as well.
An important step is to keep interior moisture from getting into the foam, so having a vapor barrier between the rigid insulation and the interior air is vital. On the other hand, it’s also vital to allow any moisture that does get into the foam or wood an easy path back to the outdoors. Good ventilation combined with keeping rain out is key here. I’ve purchased perforated foil radiant barrier to ensure air flow, and will keep wind and wind-blown rain out of the roof with a good-sized overhang and deep fascia. The point of the foil is to keep insulation fluff in place, while still allowing it to breathe with the perforations. I’m using this stuff:

48 inches wide so easy-peasy to install
There are products made specifically to create air channels, too, called Attic Vents or something similar. Some I’ve seen are made out of cardboard ~ easy to DIY.
Here’s a simplified list of the roof layers:
Ceiling treatment ~ in my case, I’ll use painted barn boards.
Vapor barrier of visqueen/thick plastic sheeting
3/8 inch CDX plywood
1 1/2 inch rigid foam board (R-Value 7.5)
3/8” CDX plywood
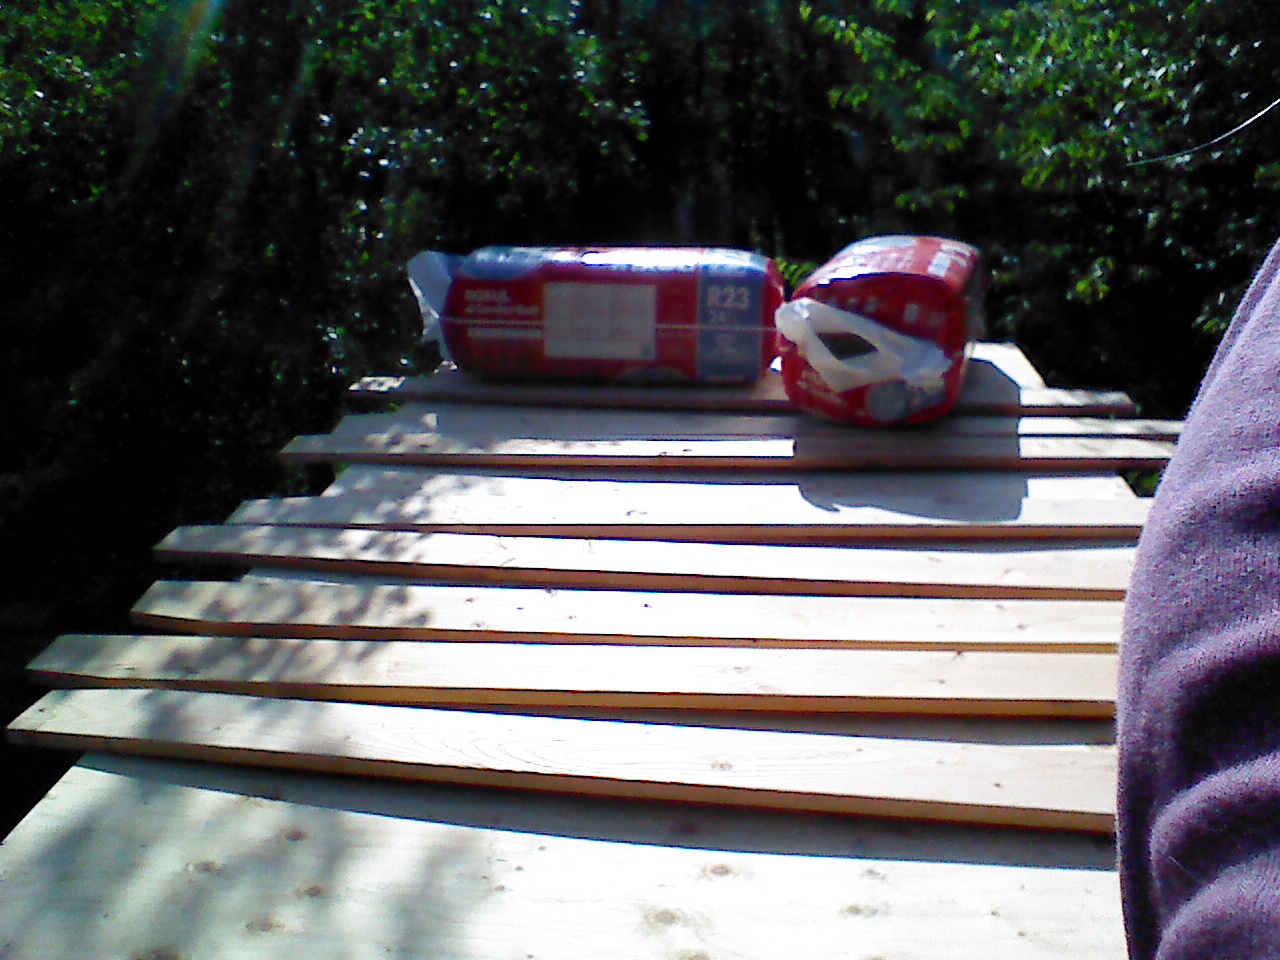
2×8 trusses filled with 5 1/2″ Roxul (23 R-Value)

Almost as good as sheep wool, and more familiar to any inspectors who nose around once I’m on my property.
Perforated radiant barrier
23/32” CDX plywood sheathing, with the gaps filled with a flexible sealant
.60” thick EPDM from Gentite fully adhered to the sheathing

10 by 25 feet ~ no seams!
I am pretty sure I have linked to this site before, but it’s so full of good information that I’m going to do it again. You can get lost in there, digging ever deeper in technical building goodness. Anyone thinking of constructing a building should check out the Documents section, even if it’s not a DIY.
UPDATE: I started writing out this blog entry on June 2nd, and didn’t get around to finishing up that day. Now, a couple days later, I am embarrassed to say that I’ve managed to injure myself (again). I’d like to pretend it hasn’t happened, but this is a record of my experience building my own home. And part of that experience is the occasional (I HOPE it is only occasional) booboo. Soooo, this time I jacked up my right knee pretty well. It’s actually kind of amusing, as I first hurt this knee way back a couple years ago when I was first starting out on the build, by tearing the meniscus. A few shots of cortisone, several weeks in a brace, and many painful months later I could walk without a limp. But the dratted thing locks up multiple times daily, and on Saturday morning it locked up while my hands were full of plywood, causing me to force it straight instead of babying it out ~ ow! Then, a few minutes later, I dropped that same sheet of plywood (on edge) onto that knee. Swearing ensued. THEN, and I’m still not clear how I managed to do this, I hyper-extended the SAME KNEE with my full weight plus (you got it) a sheet of plywood TWICE, and felt something finally give in the back. OMG OUCH!!!
Yeah. Don’t work alone with heavy stuff if you can help it, and always make safety your highest priority. Trying to get the roof on in dry weather, meaning fast, caused me to do several clumsy things, and now I’m in a sort of removable cast to keep the knee immobile, and supposed to stay off the leg entirely. Probably won’t happen, as I still need to get the roof on before it rains again. We’ll see.
Here’s some pictures of what I gotten done so far:
1/4 inch sheets of plywood are hard to manage when you’re short and out of shape
I painted these sheets top, bottom and sides because I wasn’t sure if they are CDX.
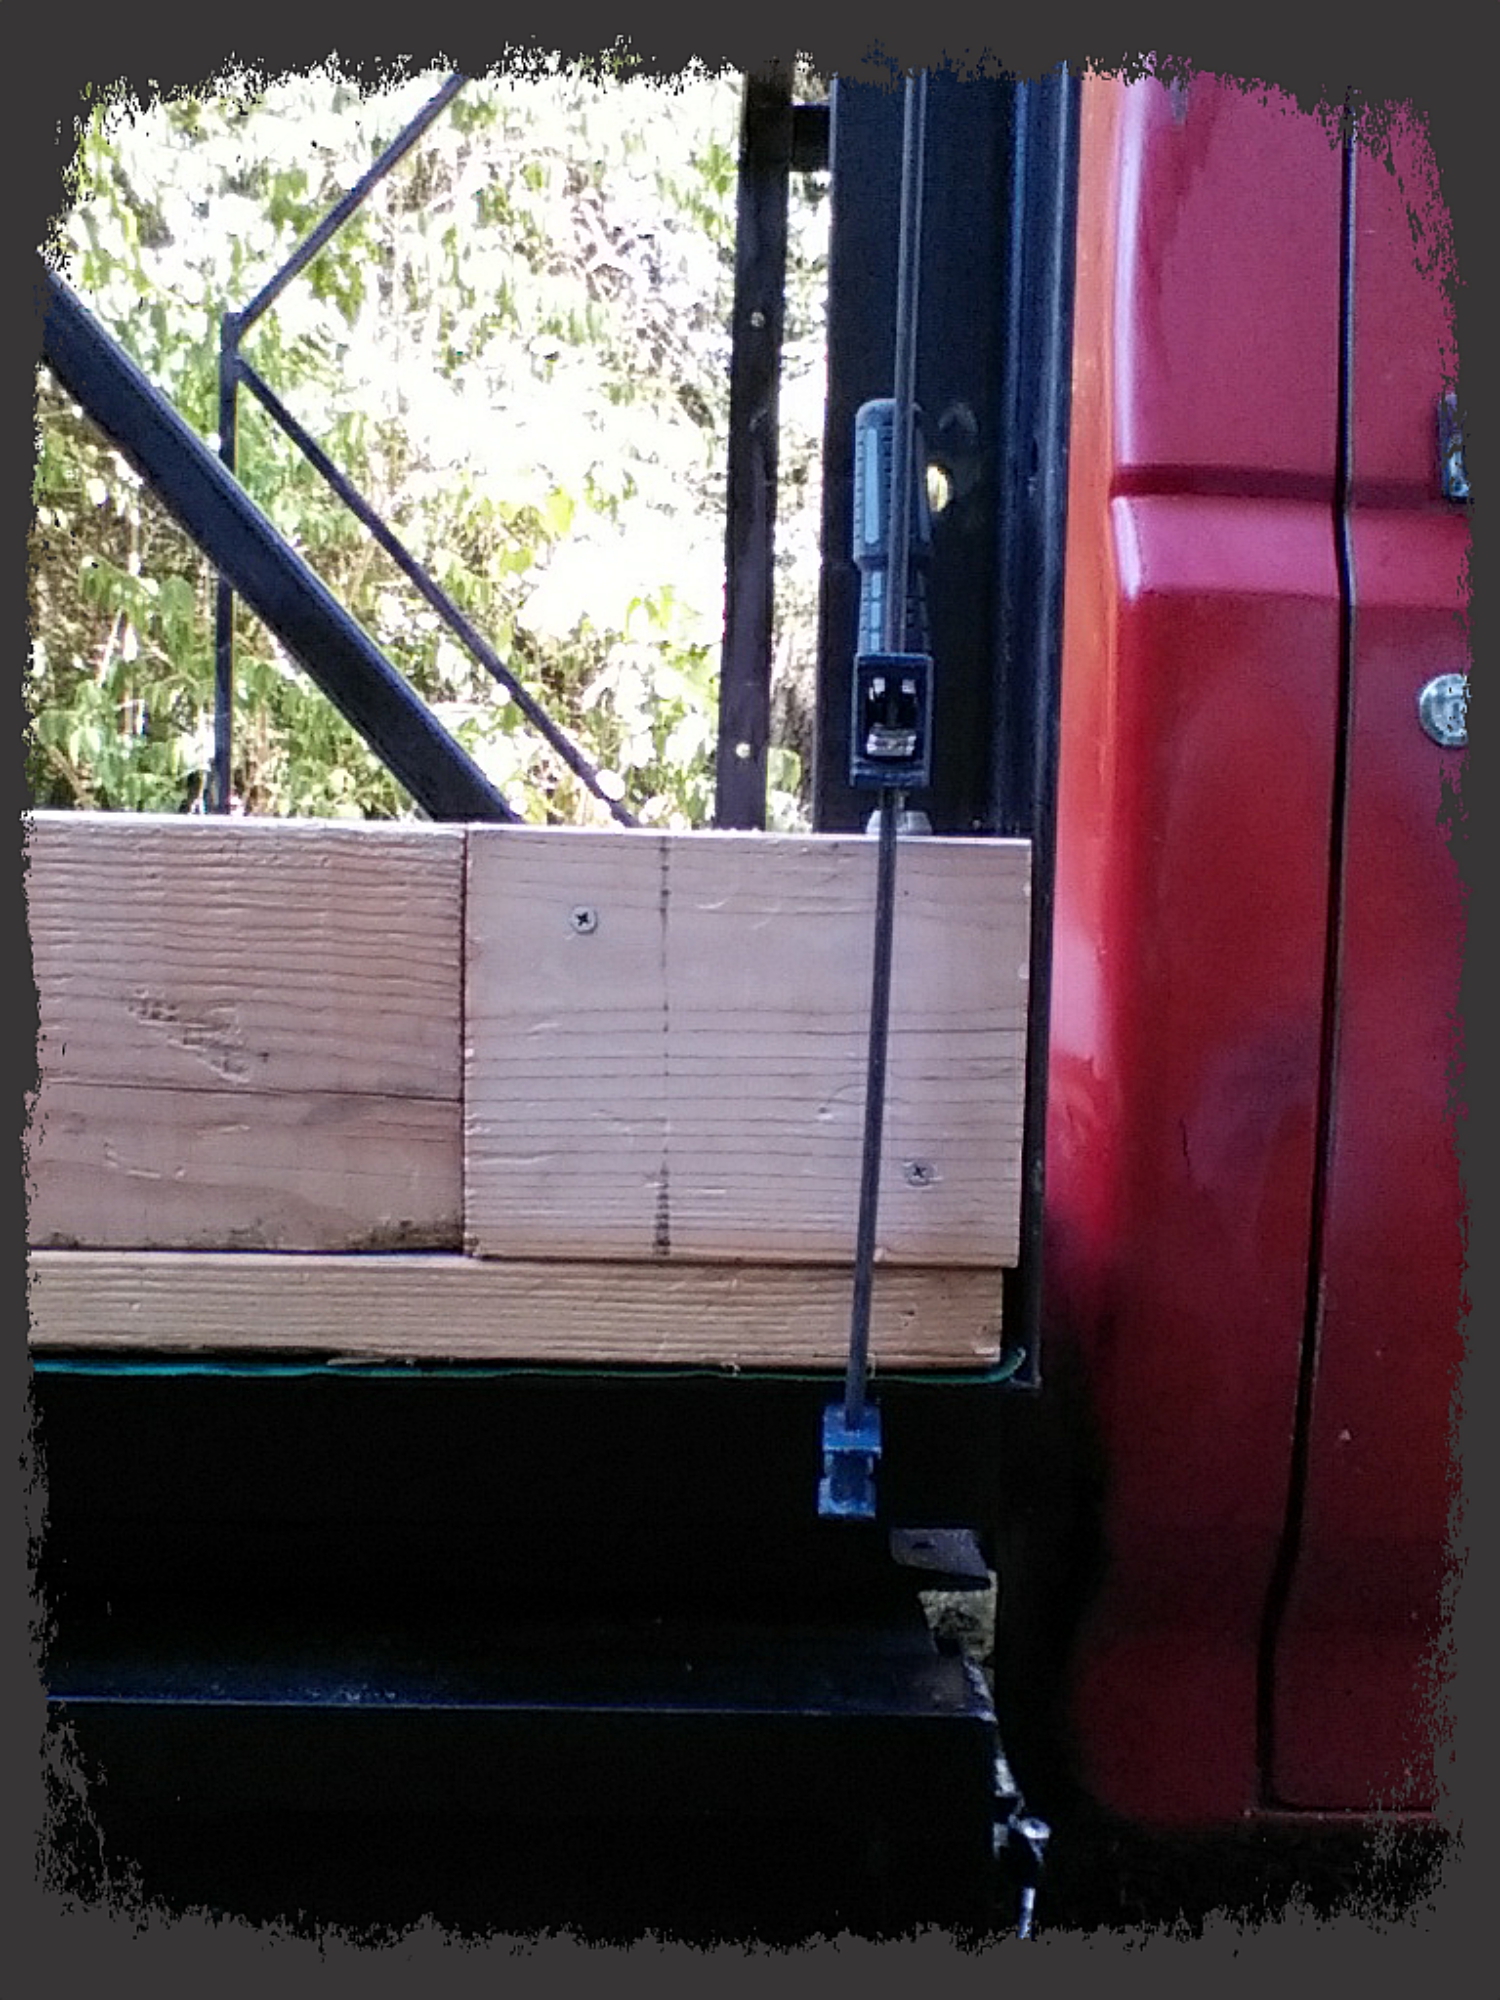
Rigid insulation
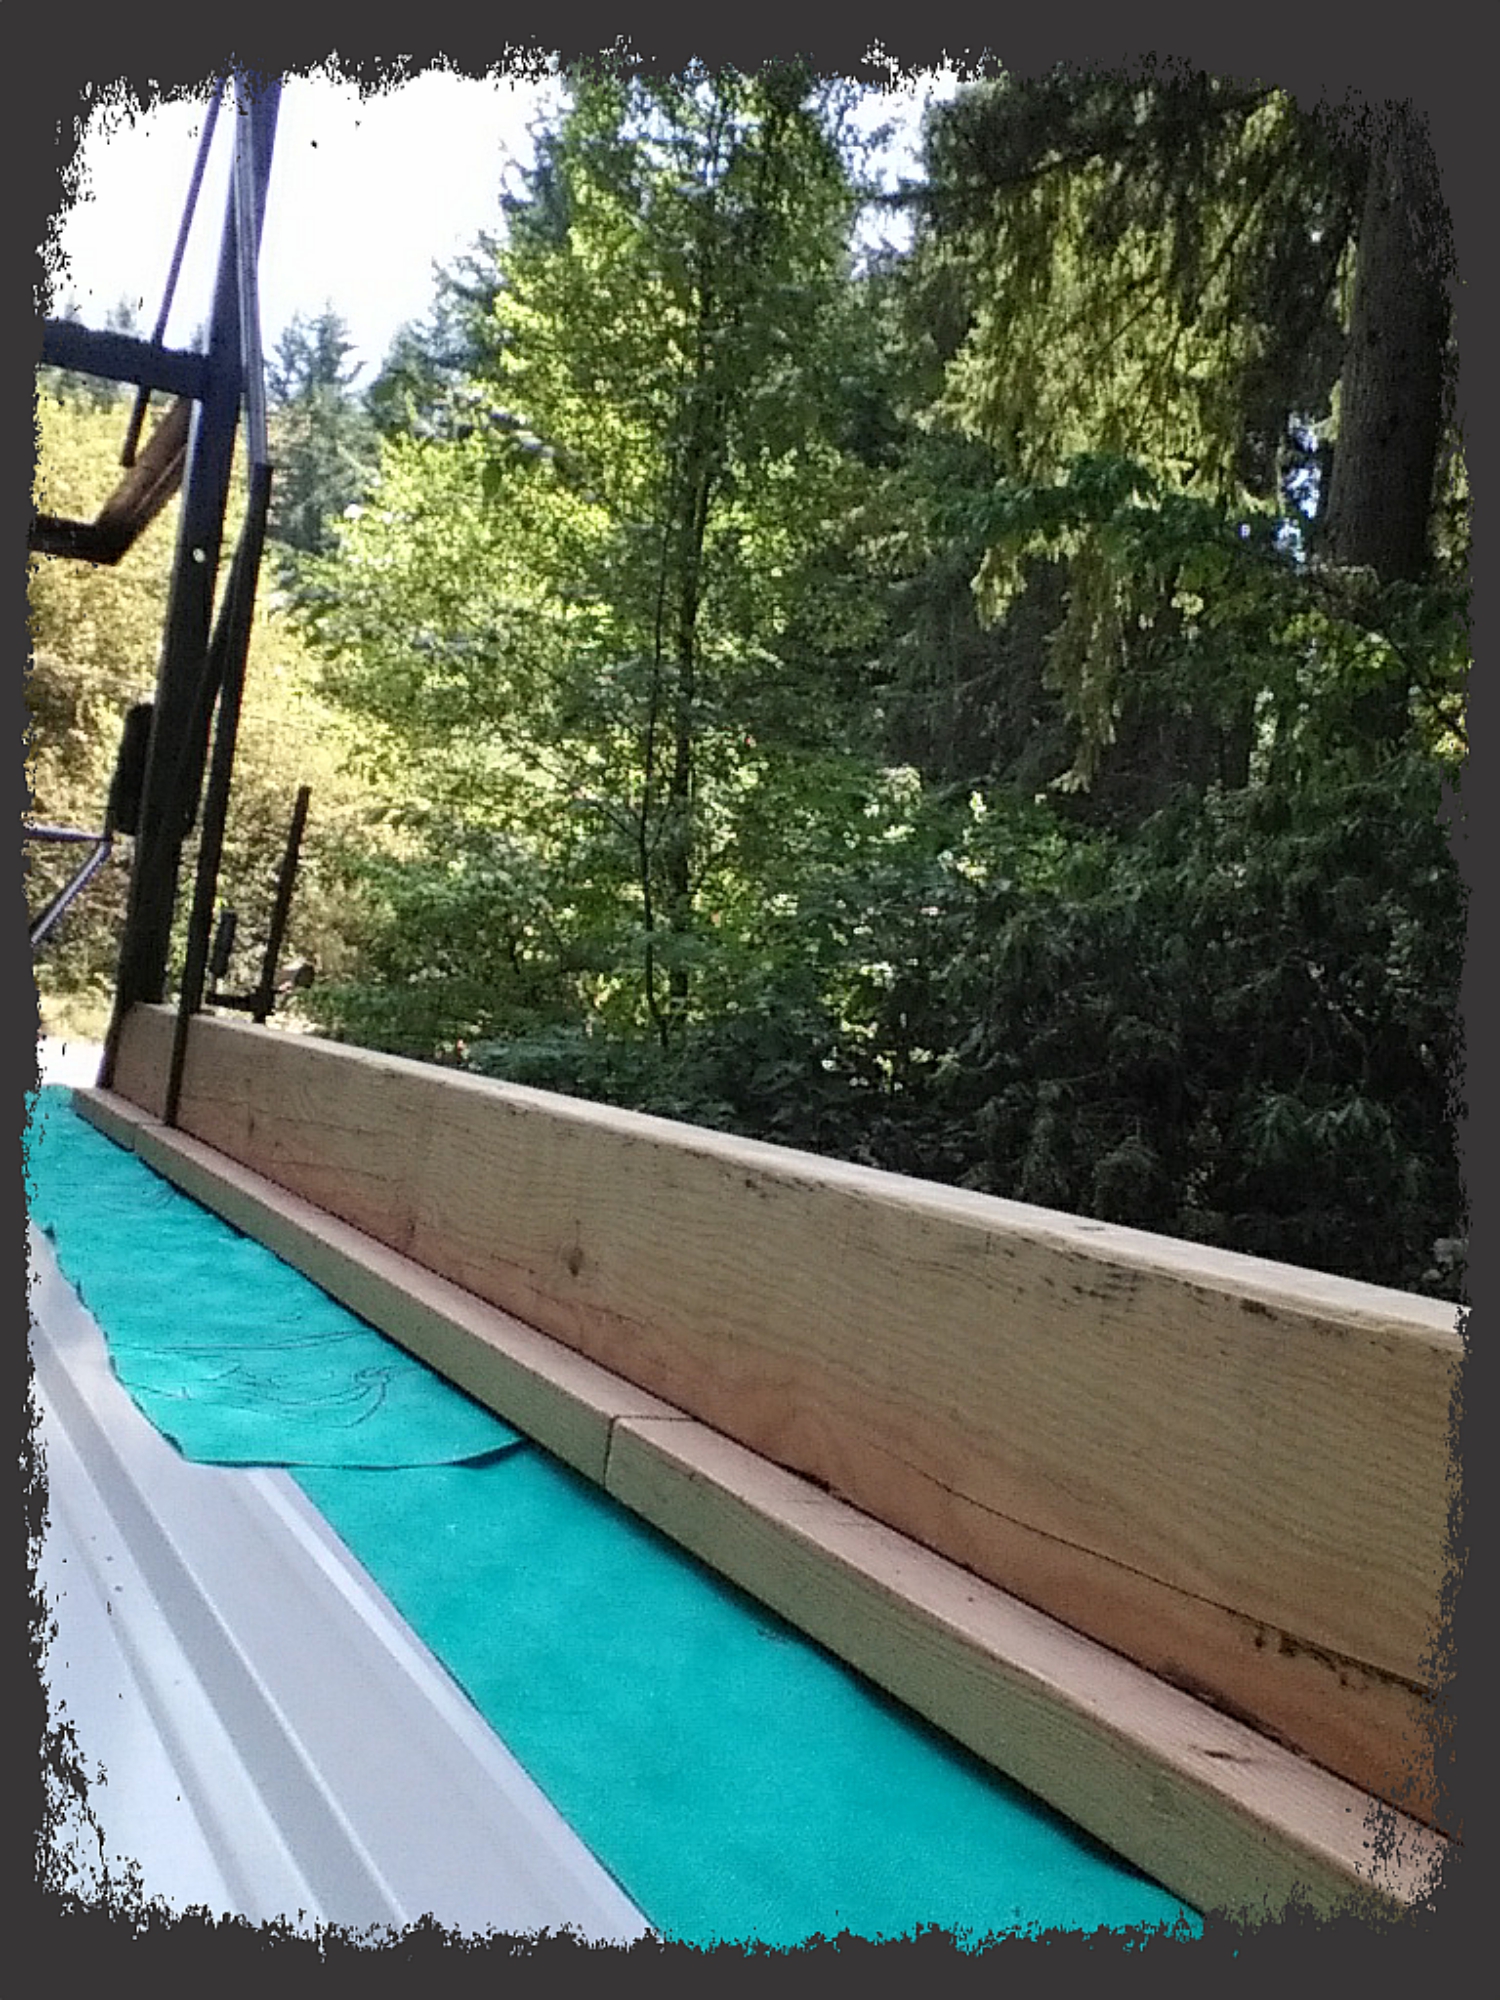
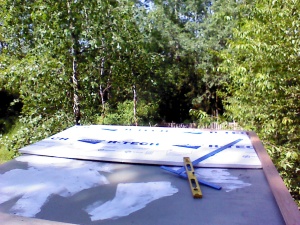
Starting to frame in the rigid insulation “sandwich” layer.

Covering the foam with thin CDX plywood.
This is still pre-knee destruction. Look at the cool camo paint, heh.

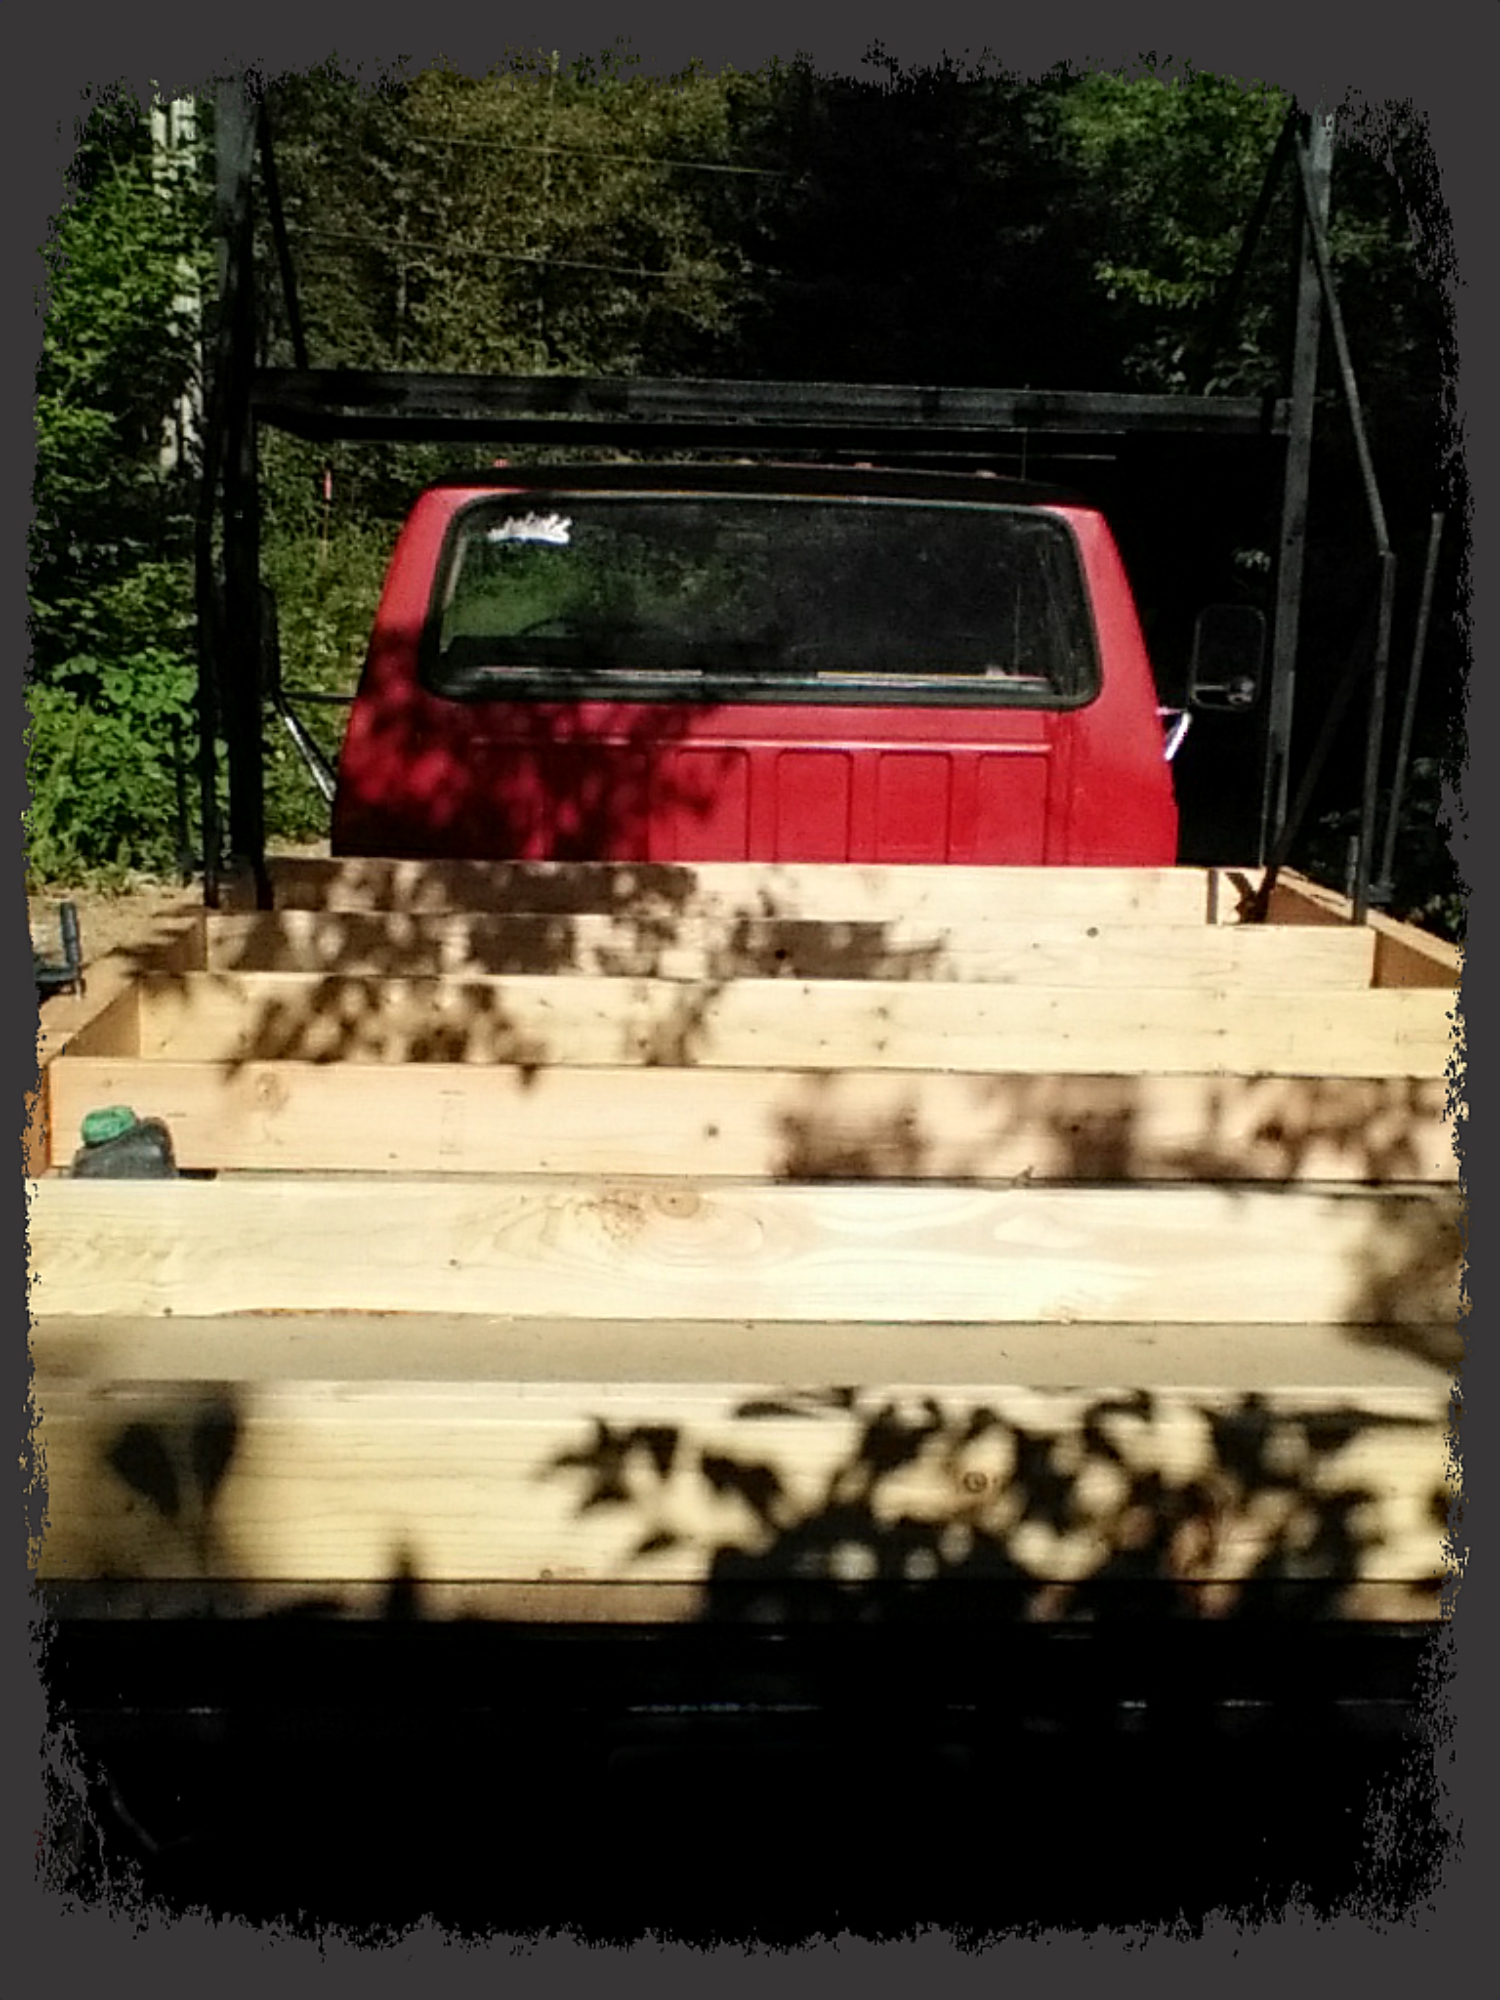
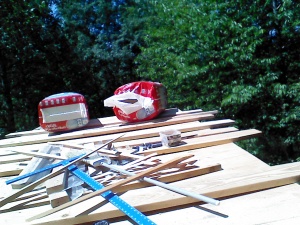
This is some of the pile I schlepped back and forth on the roof.
My son came over early Saturday morning to hoist a bunch of heavy/bulky stuff up to the roof for me. I really wanted to do this whole house by myself, but I simply could not get these heavy things up there. Of course, this meant I had to repeatedly move a big pile of (heavy!/bulky!) stuff around, trying to keep it out of the way. Great workout. At this point I’ve already done some of the knee damage, but the hurt hasn’t truly hit yet.

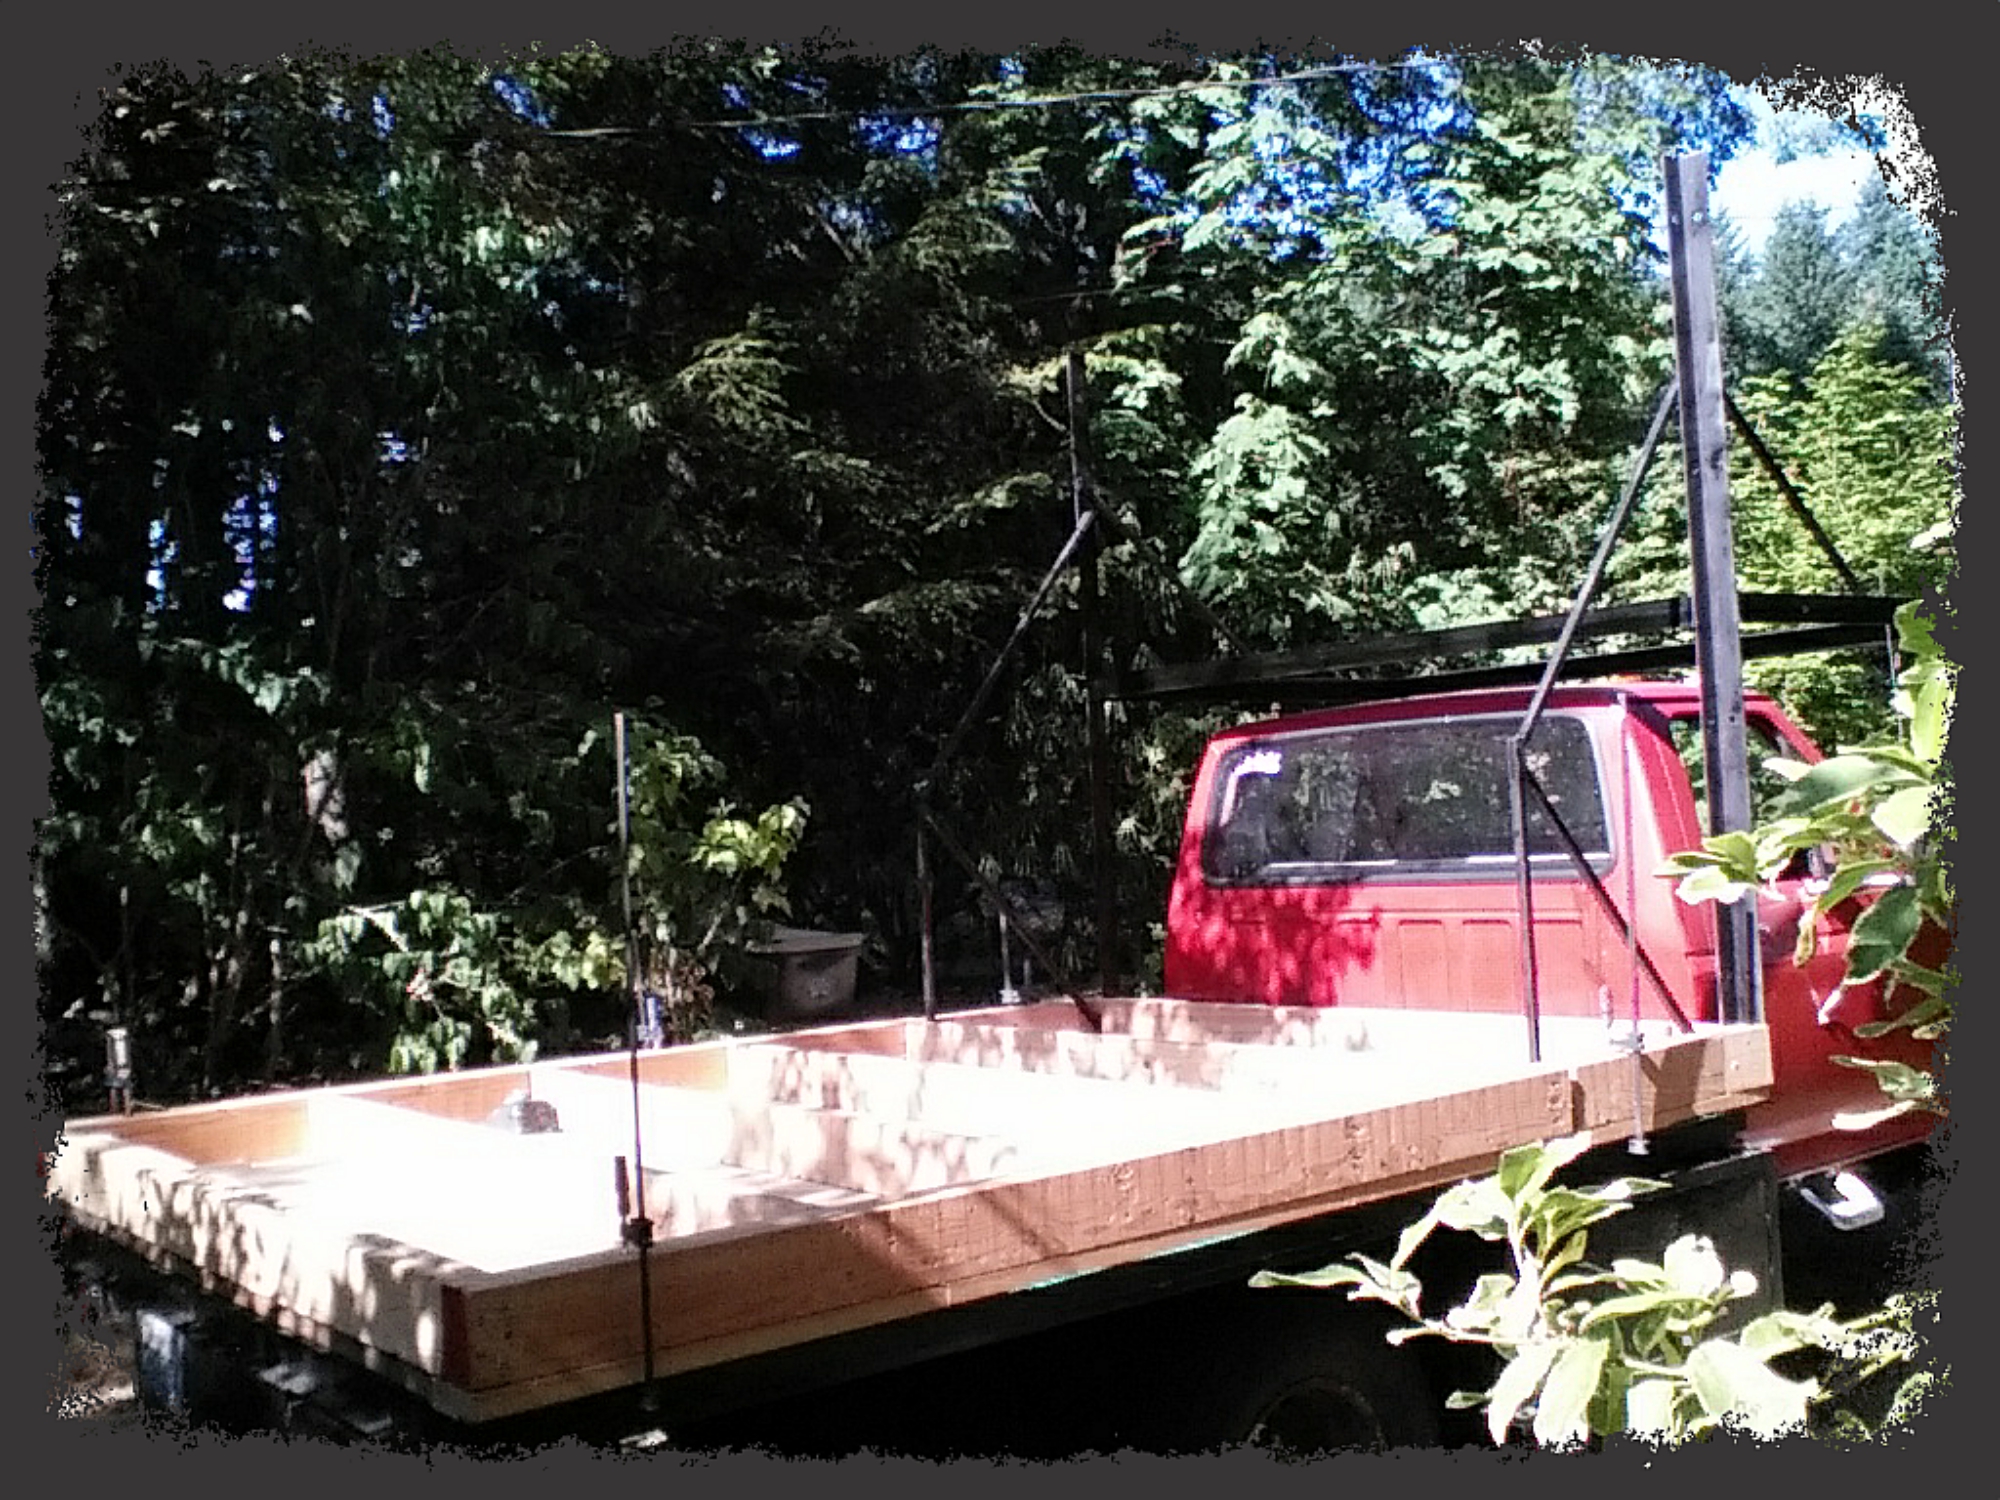
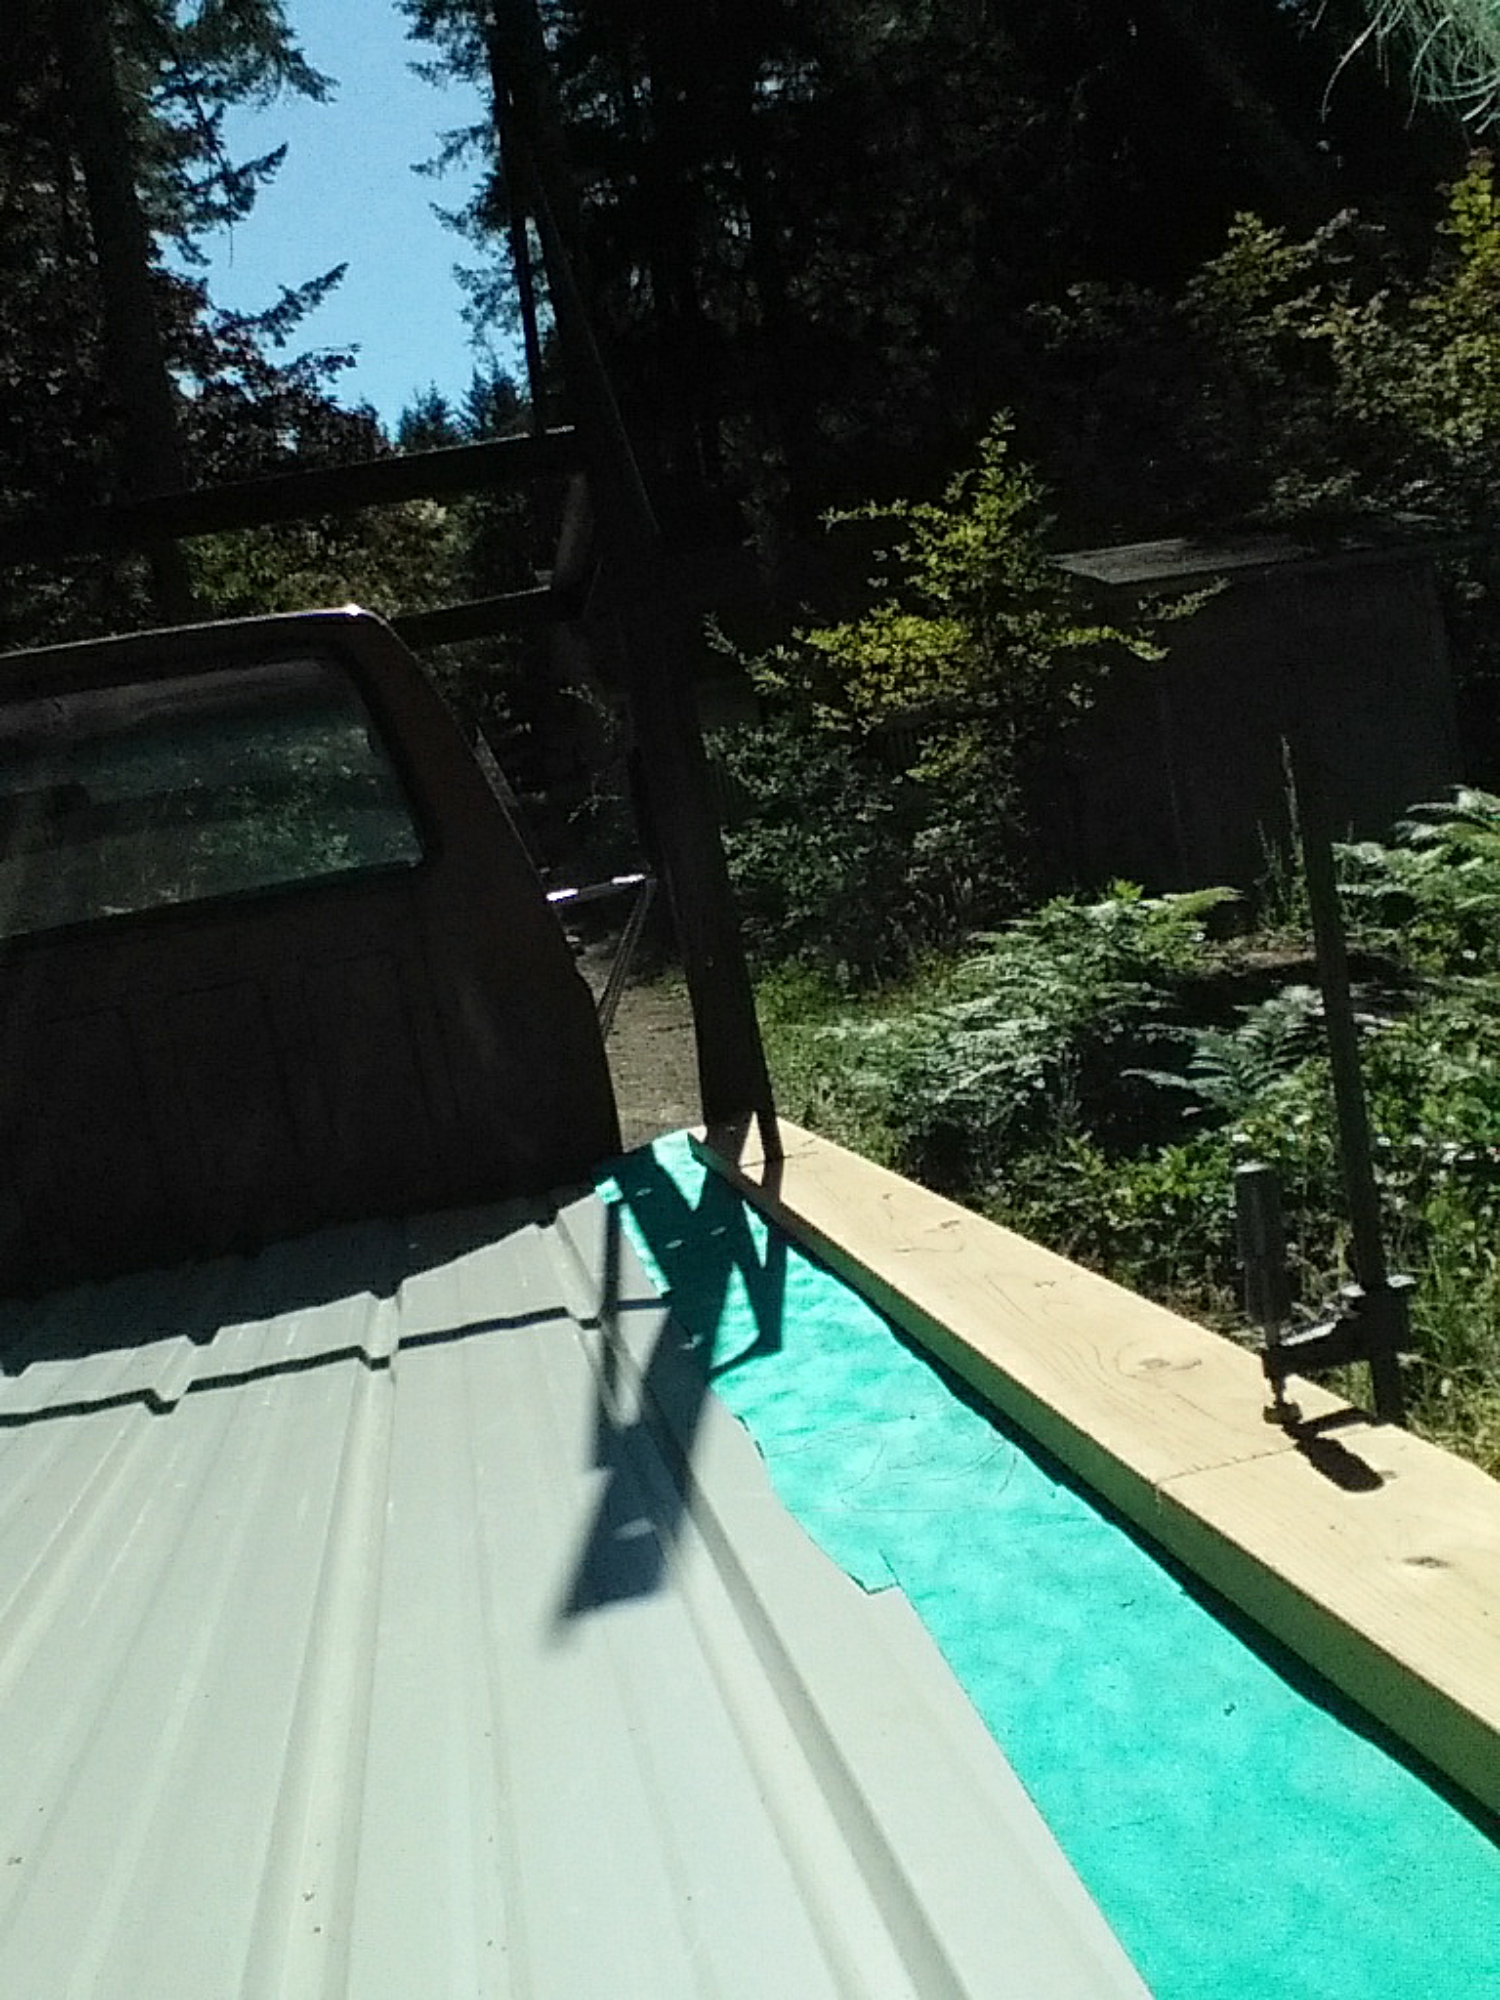
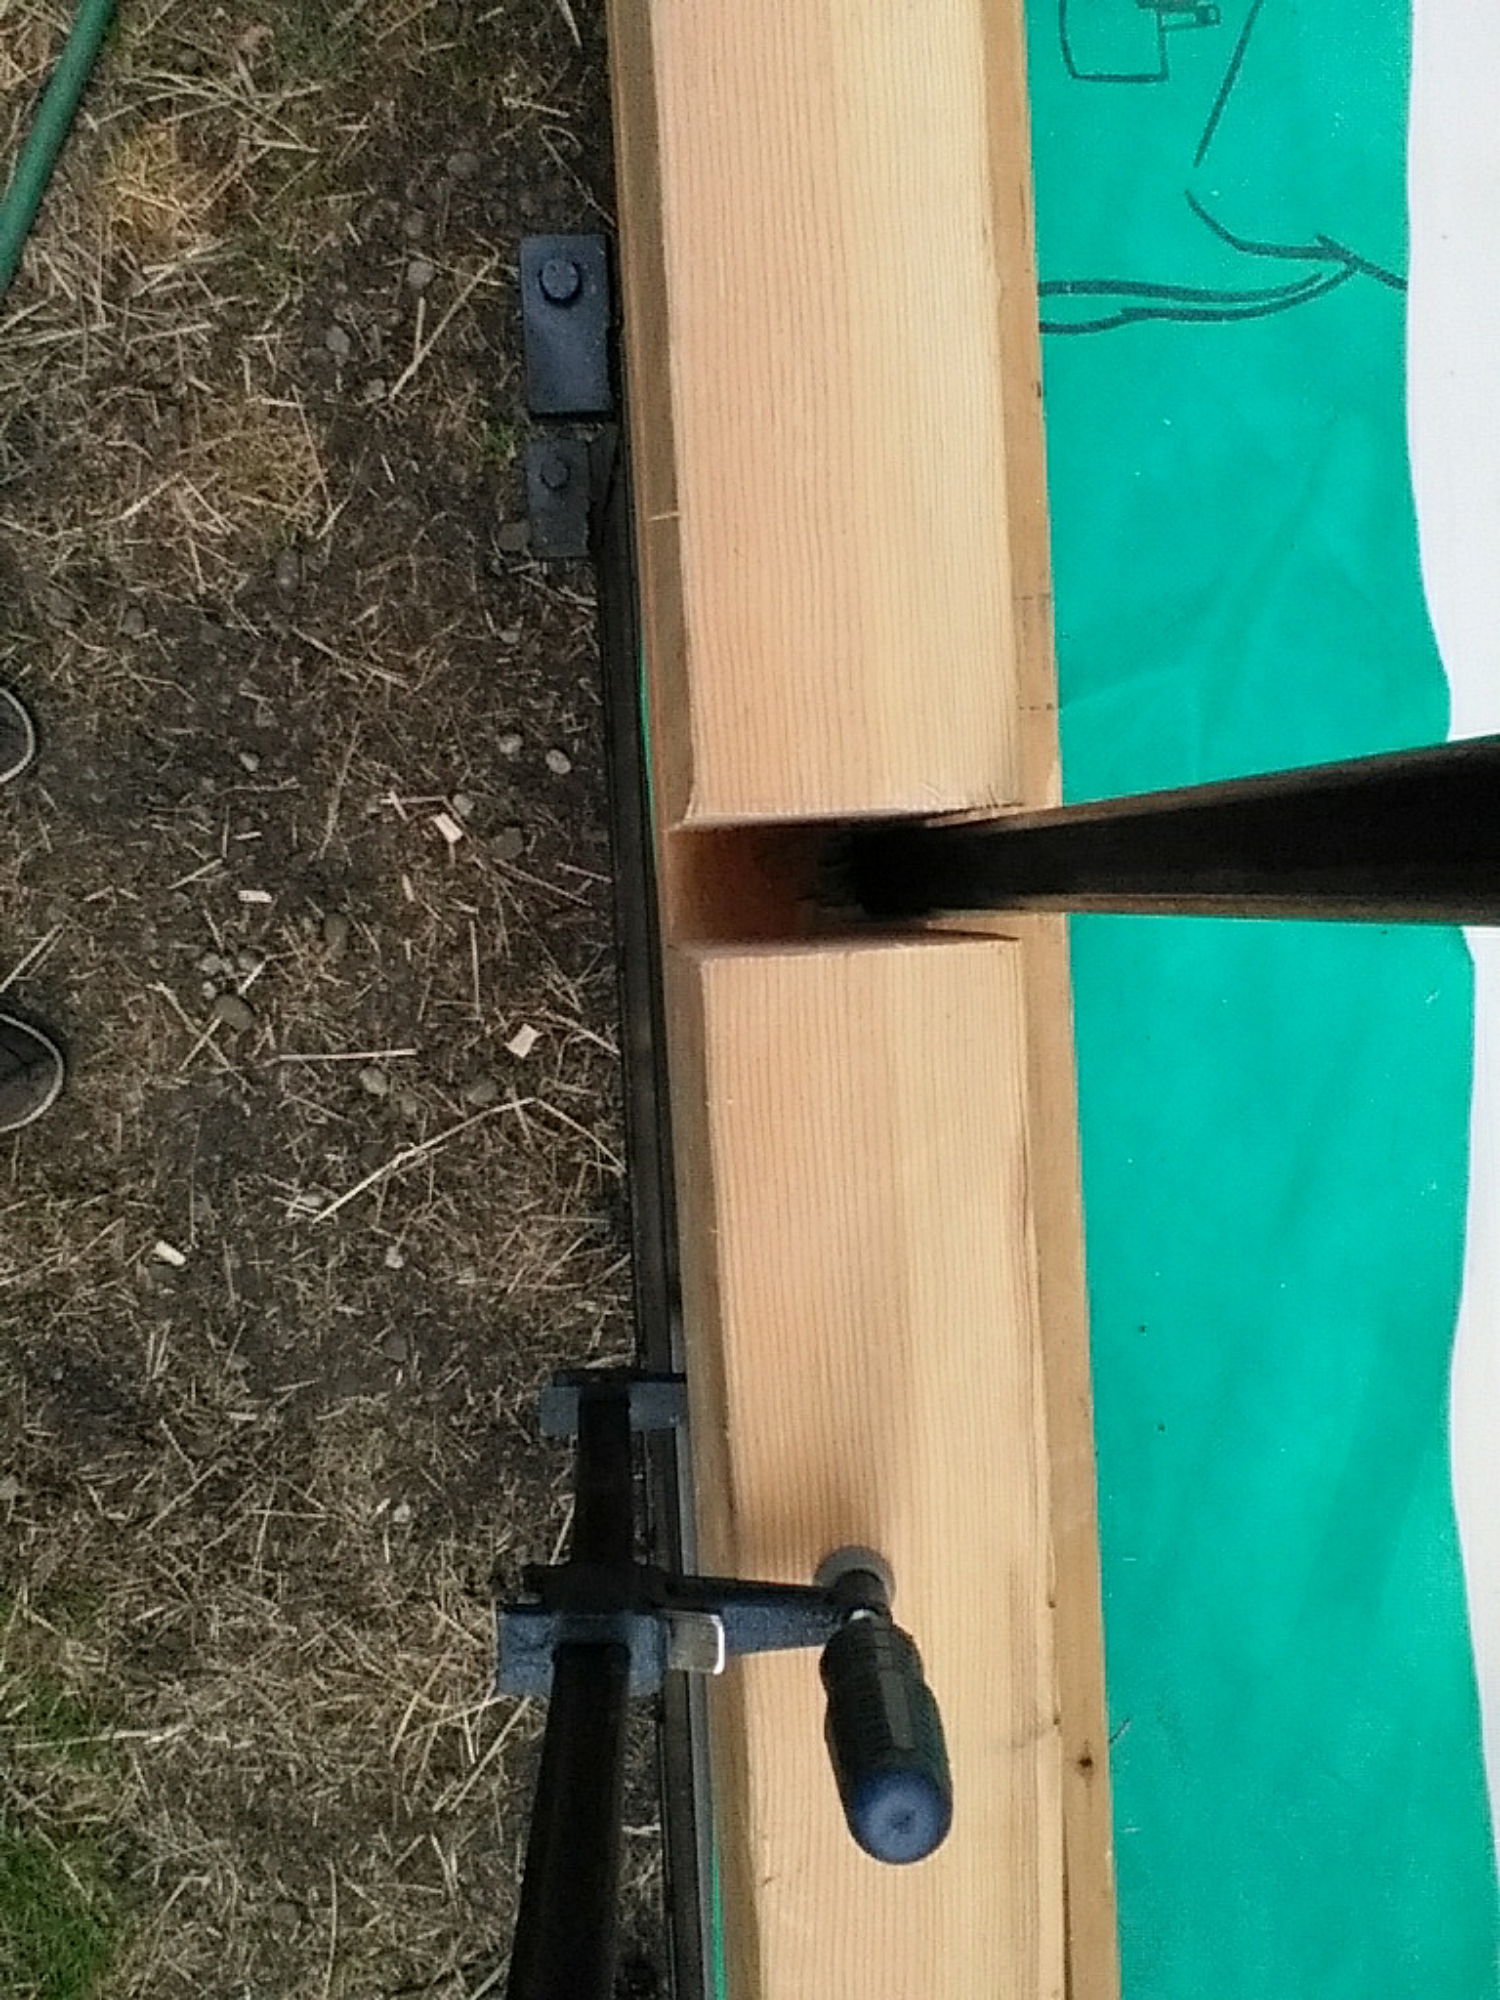
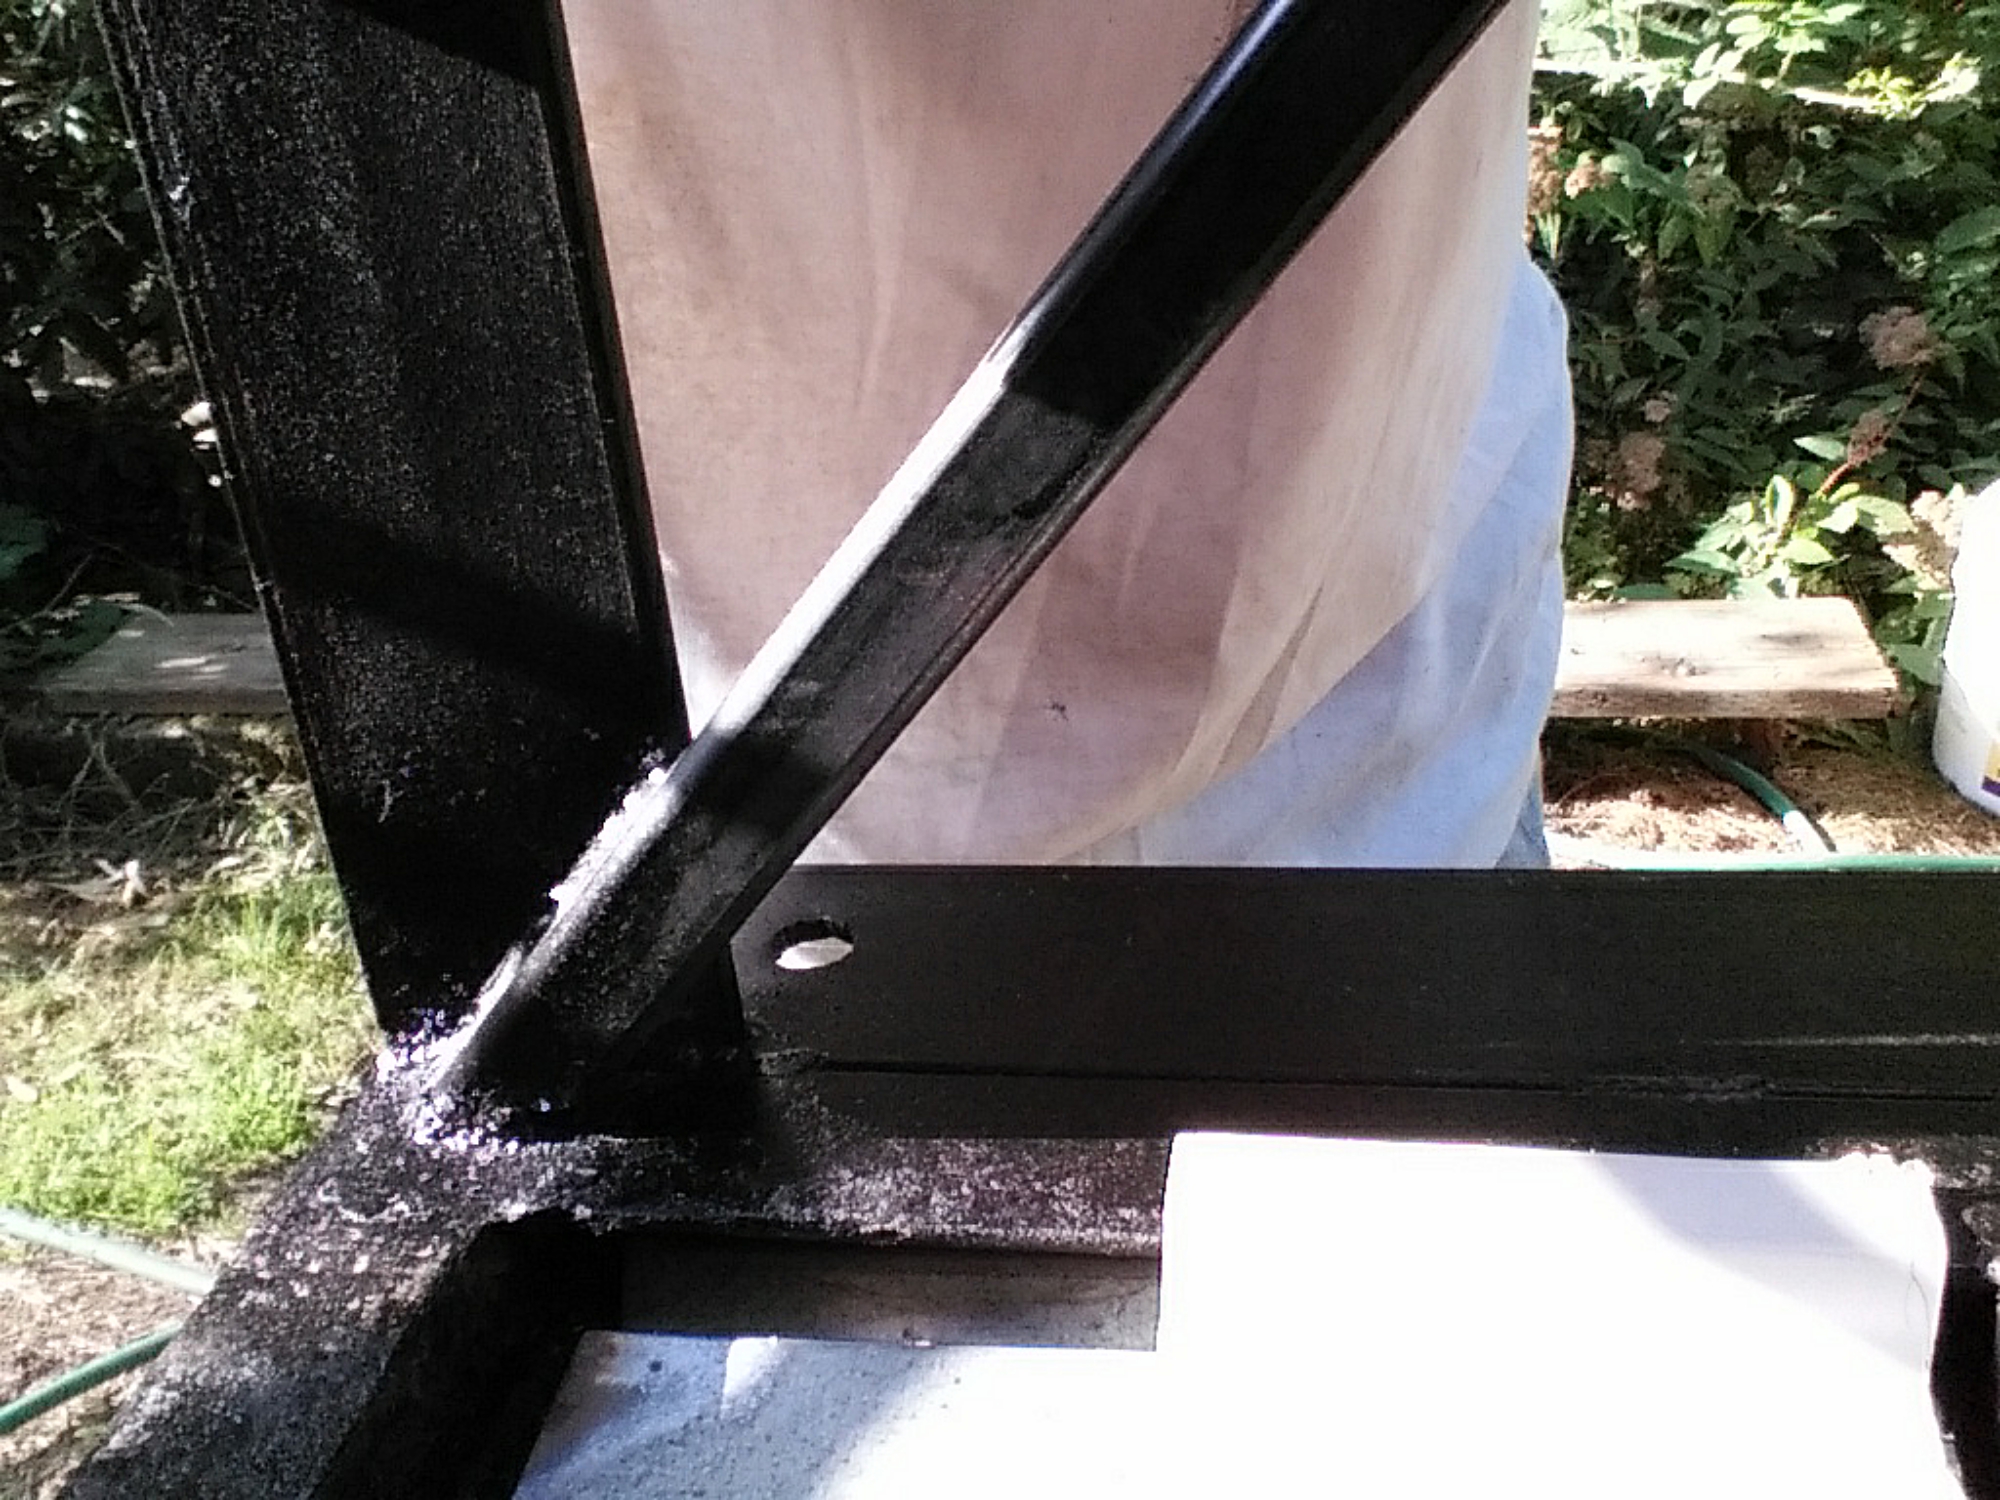
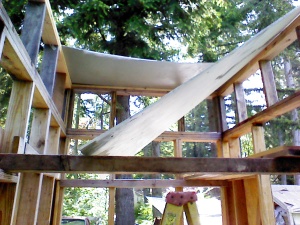
Thermal break put in, and more room to work in! Trusses laid out, before cutting them into the right shape.
My 2×8 trusses measure out to literally 7 inches, not 7 1/2 like I expected. This meant I could only use 5 1/2 inch insulation batts instead of the 7 1/2 inch I originally planned on because I want a good inch and a half of air between the Roxul and the sheathing. I purchased the planks from two different lumberyards, so I guess it’s just lumber math? Heh, or instead insert men measuring joke here. So now I’m only getting an R-Value of 23 between the trusses, instead of 30.
Waste, but not too bad.
The middle of the trusses are left at the full 7 inches, and are cut down to 6 inches at the ends. Not quite as much of an angle as I wanted, but there’s that whole “7” instead of “8” inches thing again.

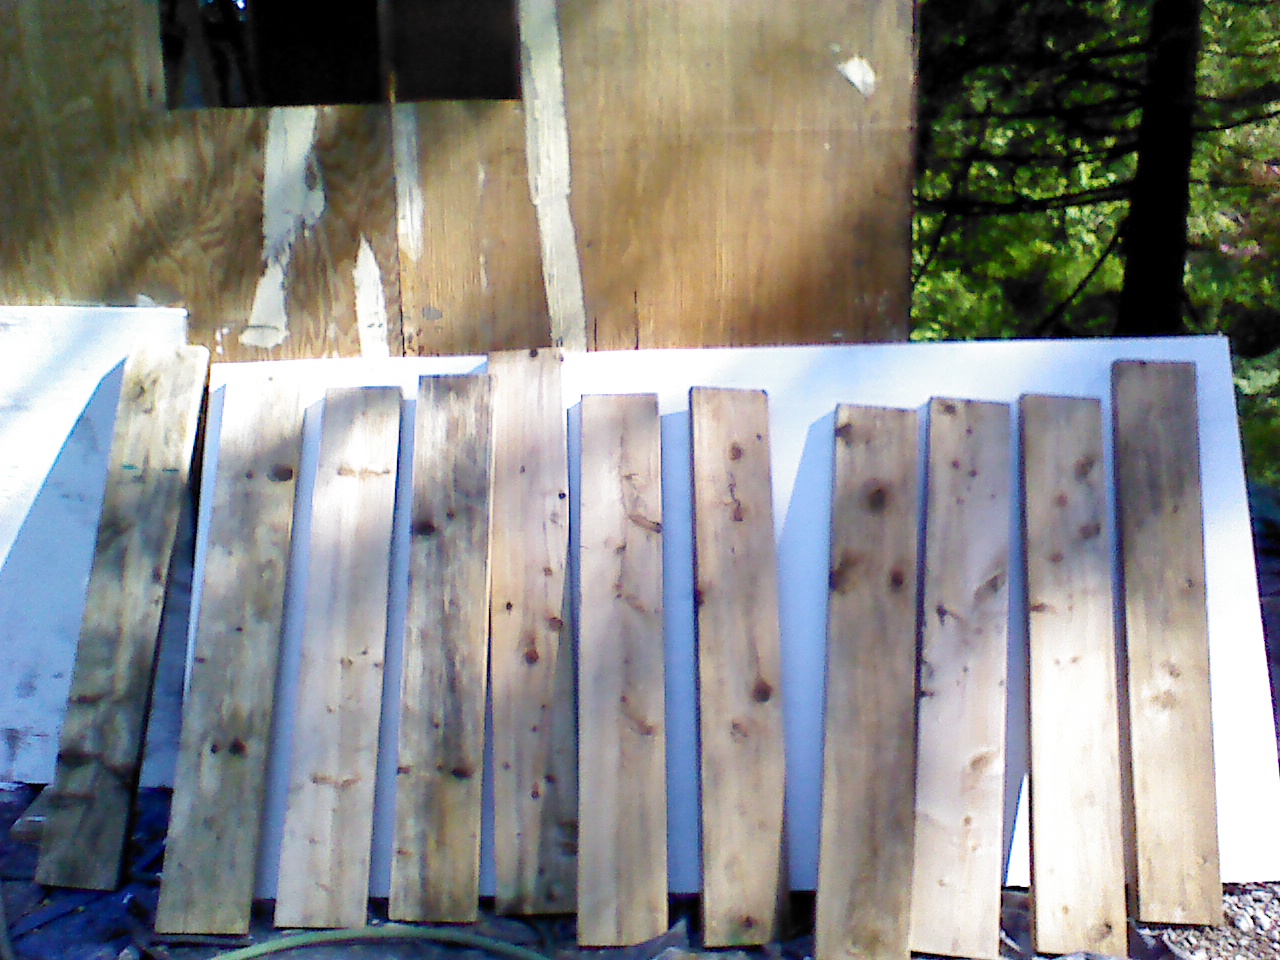
All washed up and ready to be cut to size.
Part of my huge pile of wood pulled out to use for the flying rafters and barge boards. I had to scrub a couple years worth of dirt off of them, due to losing the pile in canary grass. That stuff grows to over 6 feet here! Not my fault for piling it in the pasture, nope!

DIY bird blocks to ensure great air flow and hopefully no bugs.
Bird blocks are those wood pieces with holes covered by mesh you find up under the eaves. From the research I did, the holes don’t offer enough air flow in most cases, so I made these. The mesh I used is 1/8th inch to deter insects stapled to 2x4s. These will be obscured by the deep fascia boards I plan, which in theory should keep rain and direct wind out of the roof interior.
That’s all for now!